
Perfect for the Experienced Golfer.
Combining an eclectic blend of modern and links style design.

Par 72 | 6611 yds | White Tees
The Codrington Course was opened in 2002 and since then has developed the reputation of being one of the toughest courses in the South-West.
From the back tees the course stretches to 7106 yards (SSS 75), however from the medal tees measures 6611 yards. With a par of 72 and a SSS of 73 the Codrington offers a true test for any level of golfer and is the venue for stage 1 Q School of the DP World Tour.
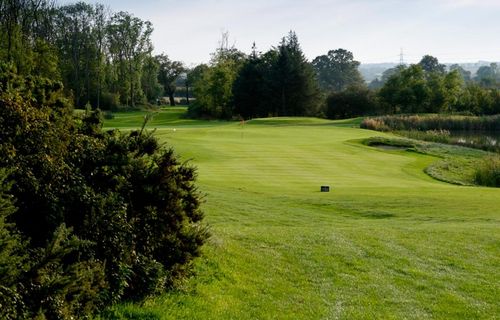
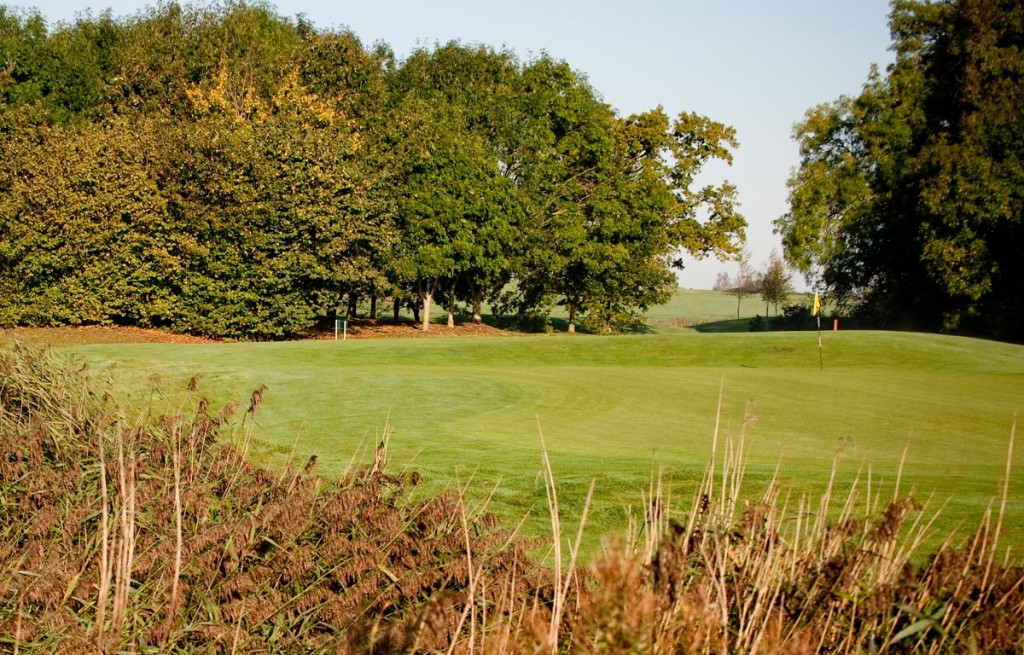
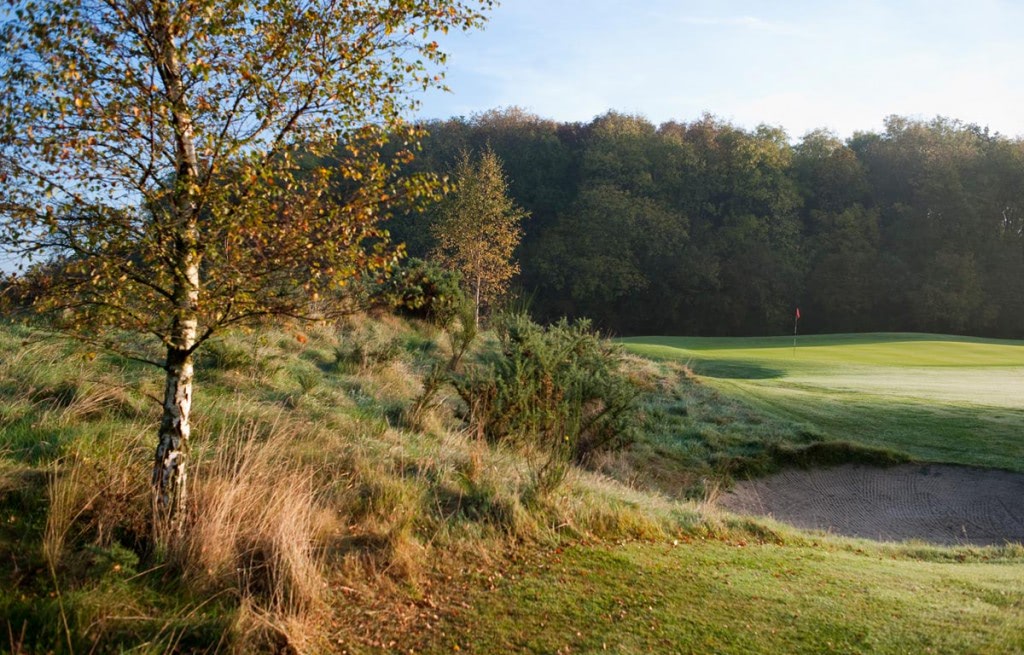
The course has been framed amongst woodland combining an eclectic blend of modern and links style design with numerous bunkers and lakes coming into play on almost every hole which only further adds to the exciting character of the course.
The greens have been built to USGA standard with many testing contours and undulations. The course was ranked 113 by Golf World in 2006, ‘Best Courses in Great Britian and Ireland’. A new course record of 63 was set during the 2009 Euro Pro Motocaddy Masters by Matthew Ford with the course playing 7045yds.

Hole 1 "Fat Jack"
1
A tough championship opening hole where a tee shot slightly to the left is favourite and ensures the best route to the green. The fairway is just 30 yards wide with bunkers on the right side which for some is the line.
The approach is likely to be played from some 150 yards from a high plateau to the green flanked by a solitary bunker, the lake and the plantation known as 'Fat Jack' Probably a drive and a medium iron from the regular tees, the tee shot is some 70 yards shorter avoiding most of the trouble.
Take advantage of the downhill slopes and you can reduce this hole to a mere pitch. Beware of the green, it's over 40 yards long and twists towards the lake with enough ridges to keep even the devilish green keepers happy for weeks!


Hole 2 "Fools Gold"
2
The first of the short holes which can be deceptive. The green has an awkward ridge that runs strongly across from the left side, an accurate tee shot is essential to set up a birdie opportunity though both sides will gather the ball onto the green. All of the trouble is behind, so the safer shot is to play for the front but putting can be difficult if the pin is back.


Hole 3 "Island"
3
A hole destined to grace the covers of the golf magazines; our signature hole is likely to put the fear into most golfers, especially aquaphobic ones! The tee shot is played over the lake to a sleeper edged peninsular fairway.
Mounds to the right will help gather the ball, but the long drawn drive will reward an easier second shot across the lake to a narrow elevated sleepered green. The fun does not stop here, as the green is multi-levelled, making two putts a difficult task.

Hole 4 "The Grove"
4
The second of the par 3 holes at The Players Club is a pretty downhill hole with the green bordered by woods on the right and a large lake to the left. Three 'pot' bunkers cross diagonally the front of the green. From a full drive off the pro's tees at 247 yards, the hole scales down to just 140 yards from the tee of the day.
There is little room for error; a shot either left or right of the green will find woods or a hollow making par difficult. Set amongst the woodland of 'The Grove' and the lake, the green has a picturesque setting and offers a chance to catch up on the wildlife.


Hole 5 "Punchbowl"
5
A right to left dogleg this par five offers a real chance of a birdie. The tee shot needs to find the wide fairway but bunkers tighten the fairway at 310 yards and can catch the big hitters out. Only the long hitters will have any chance of reaching this hidden green with two blows.
The second shot offers a choice, it can be played into position as a true three-shotter or you can risk further distance to view the punchbowl green. Although, the approach must carry the walled bunker, the green, set amongst the moundings, gathers the ball in true links style, the area to the right of the fairway is a nature zone of rushes, ponds and natural grassland providing a breeding habitat for birds and animals.


Hole 6 "Tormarton Twist"
6
A tough left legger and rated the toughest par 4, often back into the prevailing wind it requires a precision drive threaded between two bunkers. The perfect tee shot is the draw because the right hand side of the fairway feeds the ball away making the second shot longer. The green is well guarded by hollows, bunkers and the green has some tough placements.
The green is bisected by a ridge running centrally across the green that will throw the loose shot towards the grass hollows. Plenty of tough hole locations in the back sector can make a par very difficult although, the front section is more forgiving.


Hole 7 "Southbound"
7
A birdie opportunity comes about at this short par 4. Beware its a tough green though. You can lay up to your favourite yardage by hitting an iron off the tee, or if your feeling brave then a driver gets you close to this small sloping green.


Hole 8 "Codrington"
8
This par 4 benefits the long drive although beware the bunker on the right, which can catch anything slightly that way. The green is set in a bowl so don’t despair if you’re a long way out as you can run a long iron or wood in. If you have a short iron in hand try and land the ball all the way as anything short can run through to the back.


Hole 9 "Eden"
9
An accurate tee shot must avoid the steep slopes and bunkers to the right, but there is more trouble on the left with a bunker, gorse bushes and out crops. If the tee shot is laid up the long second must carry the gully in order to reach this massive green, which is more than a quarter of an acre in size.
A ‘pot’ bunker in the center allows both a left and right green position and from parts of the green you will not be able to see the hole. It is so difficult that even three putts may be acceptable.

Hole 10 "Grants Oak"
10
A par 3 starts the back nine with the tees staggered around a long lake that must be carried to reach the raised green. Yet with a large slope in the front section of the green and a bunkers front left and right, a par here will not be the easiest of tasks.
The green extends beyond this righthand bunker and would be the ideal Sunday pin placement. This picturesque hole has woodland to the right and the rear.


Hole 11 "Lydes Turn"
11
A strong right-hand dogleg where the brave may try and cut off some of the corner but beware of bunkers at 270 yards from the tee. The rolling links-like fairway turns at 240 yards and a demanding second shot must find the raised green, which, without bunkers, is encircled by a series of pits and mounds.
The green itself is long with several distinct areas for pin placement. One of those holes where you can make a birdie and the hole can be made slightly easier by often being downwind.


Hole 12 "Dodington Ridge"
12
The second of the three par 5’s on the back nine, the 12th hole is played downhill where only the very brave will try to attack this narrow target in two. The tee shot must miss the twin bunkers on the right. From here you must decide your strategy. Safety would be advised laying up to leave a 100-yard pitch for your third.
The gamblers will chance threading a long wooden shot to this small target. Shots that miss the green will undoubtedly find the large bunkers that adorn the left and right hand side of this figure eight green.

Hole 13 "Graham's Wall"
13
This picturesque par 3 is played back across the lake to one of the larger greens on the course. The walled edged green sits on the side of the lake leaving no room for error. A slightly elevated tee position exposes the expanse of water that must be avoided and an island clad in dogwood.
A marginal bail out area to the right may help the faded tee shot but there is no help for the overly drawn shot, a left sided pin position toughens the hole.


Hole 14 "Ashdown"
14
From the tee only the top of the flag is visible yet a tee shot that carries the ridge will ensure a perfect view of the green and the awaiting hazards. Water on the left must be avoided and together with the walled pit short left of the green, this tough par 4 will yield few birdies.
The hole positions can be made difficult by using the green’s contours that feed the ball left into a swale. From there, you must be strong enough with your first putt to reach the level ground or the ball will return to your feet.


Hole 15 "Hopkins Chance"
15
One of the most exciting tee shots on the course must avoid the water on the left to secure a position to attack this green in two. A safer line to the right steers clear of much of the trouble but leaves a longer second over the lake into the bail out zone. From here, a 100-yard pitch remains across a hollow and pot bunker to the green which has a gully running diagonally across the middle section.
Grassy hollows to both sides and to the rear will collect anything but the perfect approach. This is a hole that with the right tee shot and long accurate second could give way to a dramatic birdie or eagle at an exciting point in the round, it can also ruin the round.


Hole 16 "Little Jack"
16
The last of the par 3’s is played back across the water from elevated tee’s to a green nestled up against the wood. Three bunkers guard this tricky roller coaster green that swings towards the lake. Heather borders around the edge of the lake will add to this already very picturesque hole. Multiple pin positions will allow this to be either an easy or difficult par 3.


Hole 17 "Deer Run"
17
An opportunity exists to get a shot back on par at this short dramatic par 4 hole. Accuracy from the tee is the key; the long hitters may chance their arm at reaching this green from the tee. Using a lofted wood from the tee is the safer option to avoid the large bunker that lies just before the green. The approach shot needs to be precise as the green is divided into two halves both of which are very narrow.
Putting from one half to another is not easy; slopes and swales abound around this wide but narrow target that abuts the ancient woodland where the deer reside.


Hole 18 "Lean Tom"
18
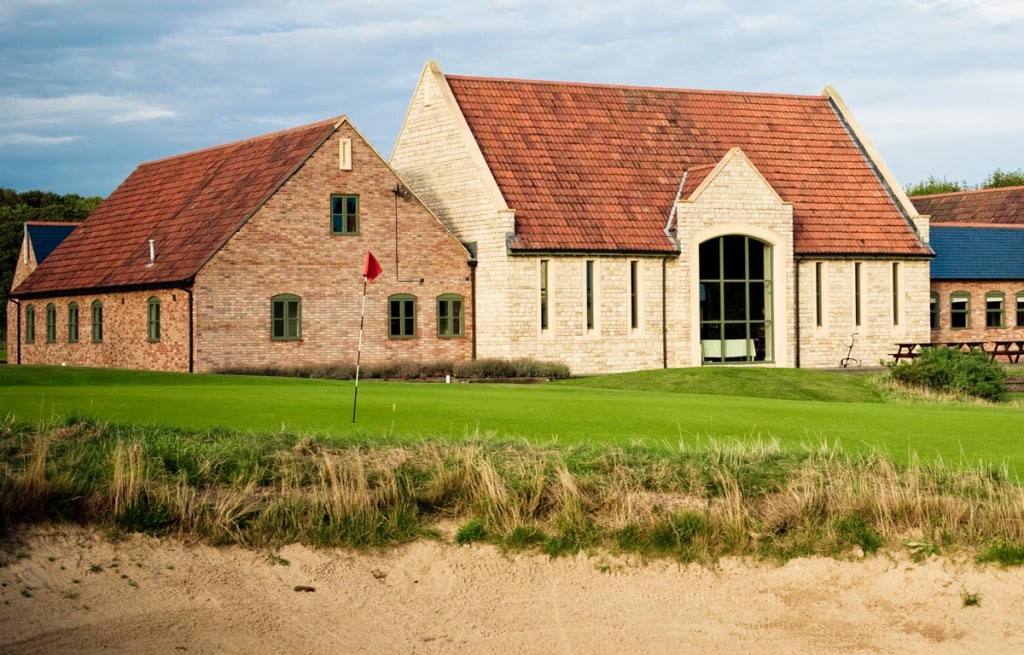
This final hole is another tough par 4. Played alongside the wood, the hole feeds up towards the clubhouse. The easier tee shot appears to be left but you must avoid the fairway bunker. There is a premium received for keeping your tee shot to the right of centre as the green is more receptive and the fairway offers flatter stances.
The fairway is a mass of humps and hollows. The green is deceptively contoured to feed the ball into the hollows to the right. Go beyond the pin and the returning putt will be fast, a birdie will require an accurate approach where club selection will be difficult to gauge.
Codrington Course Gallery
A challenging 7106 yard, par 72 course with USGA-standard greens and a top ranking.


Ready to play a round of golf at the Players Club?
Our fairways stand ready to welcome you and your playing partners.


Why not take a golf break?
Stay with us and immerse yourself in a fantastic golfing experience at our on-site accommodation or at the cosy Canons Court Mews cottages in the Cotswolds, with our Stay and Play packages.
